Recent Scenarios I
Posted in Development on June 28th, 2016 by ala – Comments Off on Recent Scenarios IHi folks,
Since the 7.0 release quite a number of new scenarios have been seen in online play. I would like to present five of them to you:
Lets start with Knüppeln by Kenny:
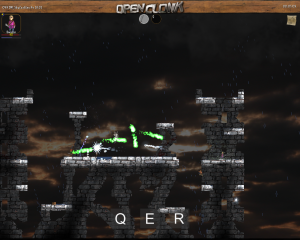
‘Knüppeln’ (not so serious German meaning ‘to club someone’) is essentially the first really fast paced magic mod. of OpenClonk. Speed wise it can be compared to Clonk Rages Floor Fight or Blackfield scenarios.
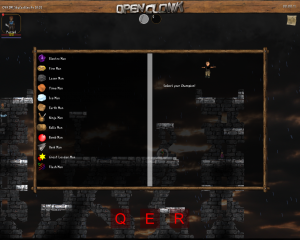
With every respawn the players can pick a champion each having three unique fighting abilities. Mobility in air is unrestricted, meaning you can jump anytime in any direction at the cost of magic energy.
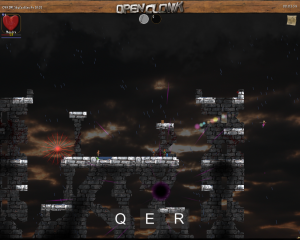
The mod offers various maps, game options, goals and items and so far is probably the largest actively played mod. for Open Clonk.
Then we have Melting Castle by Sven2:
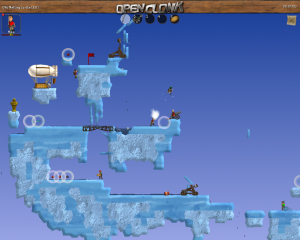
This is a new team melee added to the original package. The landscape is slowly melting while both teams try to bomb the flag of the opposing team into the abyss.
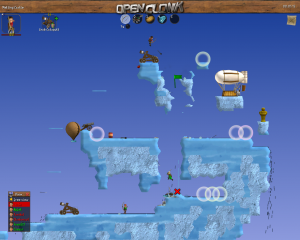
A new item is a wall kit made of ice with which the team can try to repair landscape damage. A careful balance between attack and defense is required in this tactical round. You can play the scenario by downloading the OpenClonk snapshot.
Next is Clonk Volley by Kenny:
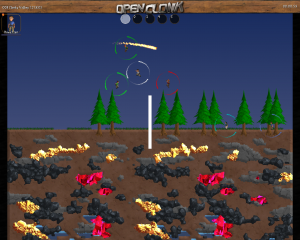
This is essentially volleyball or Blobby Volley for Clonk, and the successor of the popular mod. in Clonk Rage – but with far easier controls in comparison.
Also there is Jump Off by Maikel:
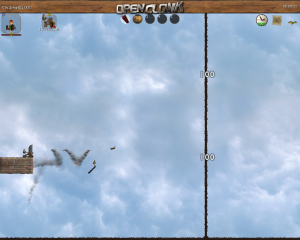
Another successor of a Clonk Rage scenario: who can jump the furthest? Combine the given tools wisely and compete.
But literally all the current rage is about the Hot Ice explosive extension made by Sven2 and Luchs:
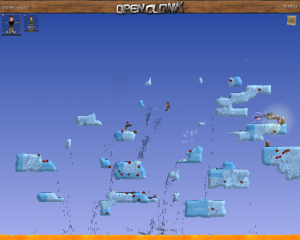
It’s very simple: use your endless ammunition of iron bombs to blast down your opponents from the melting sky islands, but beware of rockets. And don’t slip unless you enjoy a hot bath of lava.
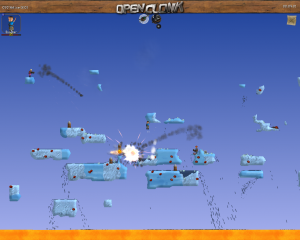
The rounds are usually short and fast paced, and tactical due to the melting islands. The players collect points for each round, the player with the most points wins. You can play the scenario in the snapshot, just pick ‘explosive’ in the scenario properties before the round starts.
If you want to join us playing, there’s usually a few games going in the European evening hours. If you cannot join because the game is advertised as “version 8.0”, you can usually join by downloading the latest development snapshot. It’s a zip file with everything contained to run the latest development version; just unzip it to a new folder and run the contained openclonk executable.
Stay tuned for the next overview of new scenarios – coming soon! 😉

